Authentication with the Block-Auth SDK
This guide explains how to integrate Block-Auth in React using production-ready patterns. It also clarifies how to connect SDK authentication to your own application session model.
Before you can make requests to the Block-Auth SDK, you will need to grab your SDK keys from your dashboard. You find it under Applications » Settings.
Install the client
Before making your first request, install the React SDK and required UI library.
# Using NPM
npm install @block-auth.io/blockauth-sdk-react @block-auth.io/blockauth-lib-react

# Using Yarn
yarn add @block-auth.io/blockauth-sdk-react @block-auth.io/blockauth-lib-react
Connect using credentials
After installing the SDK, you can connect users with FlowBlockAuth and manage sessions with DropdownProfile.
User actions 1/3: Click on button
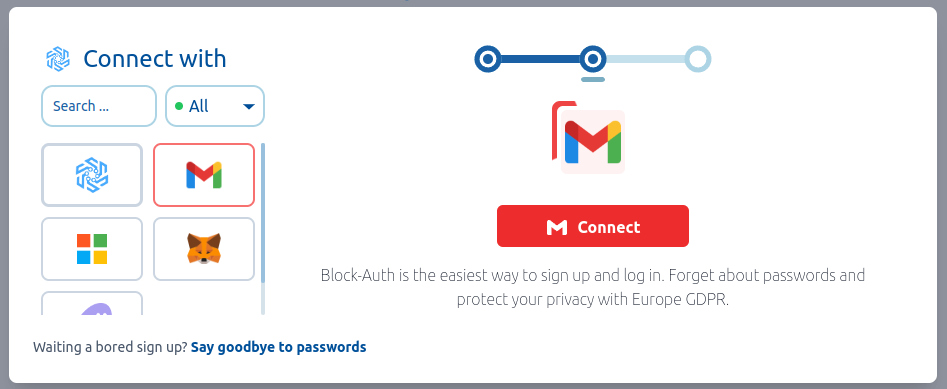
Component which starts the sign in/sign up flows <FlowBlockAuth />

User actions 2/3: Connect with a service
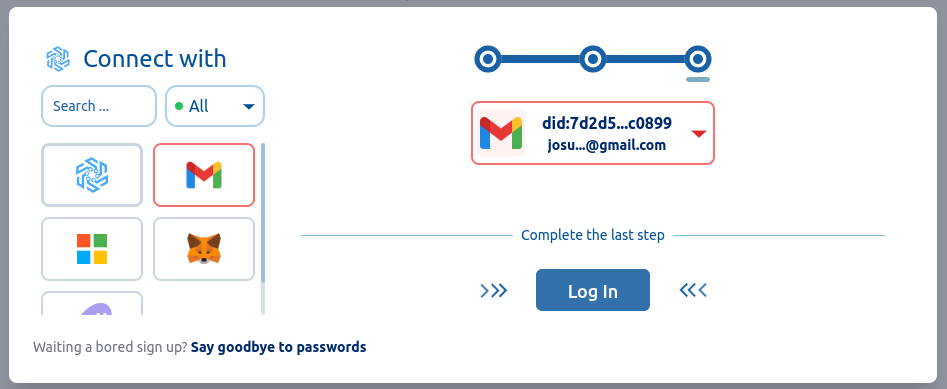
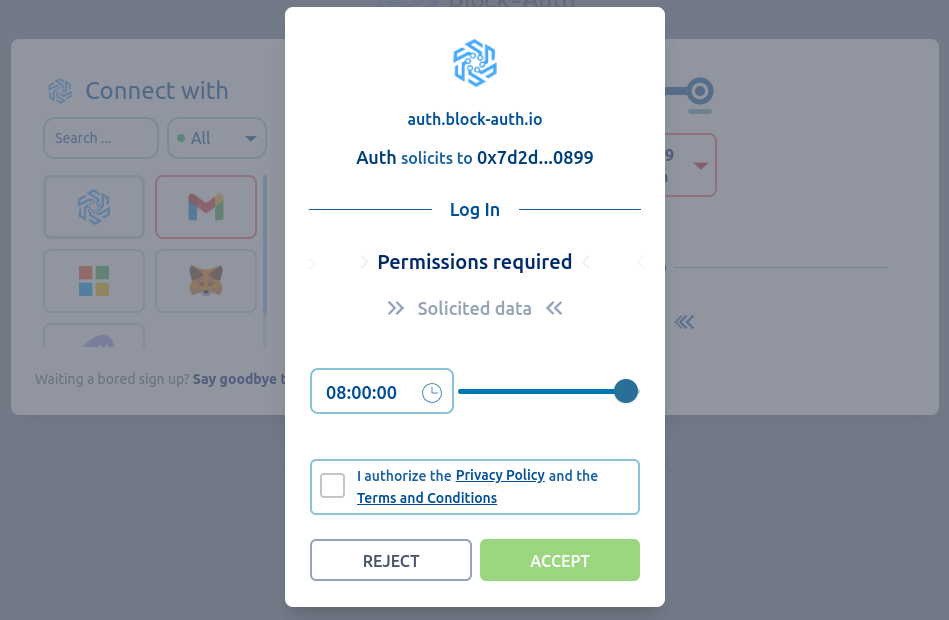
User actions 3/3: Authorize Log In
Component which shows the user profile and allows to log out <DropdownProfile />
import React, { useState } from "react";
import {
  BlockAuthAppProvider,
  FlowBlockAuth,
  DropdownProfile
} from "@block-auth.io/blockauth-sdk-react";
import "@block-auth.io/blockauth-sdk-react/dist/output.css";
import "@block-auth.io/blockauth-lib-react/public/output.css";

// Configure the variables obtained from your Dashboard
const config = {
  api_key: "YOUR_API_KEY",       // e.g., "app.65b0ee79..."
  api_secret: "YOUR_API_SECRET", // e.g., "052e56179eeda..."
  blockauth_provider: {
    google: {
      clientId: "YOUR_GOOGLE_CLIENT_ID",
    },
    microsoft: {
      clientId: "YOUR_MICROSOFT_CLIENT_ID",
      tenantId: "common",
      authorityMode: "common",
    },
  },
};

export default function MyApp() {
  const [isLogged, setIsLogged] = useState(false);
  const locale = "en";

  // Callback to define custom logic when registration or login is successful
  const handleSuccess = async (address) => {
    console.log("Success! Authorized for address:", address);
    setIsLogged(true);
  };

  // Callback for errors
  const handleError = async () => {
    console.error("An error occurred during authentication.");
  };

  return (
    <BlockAuthAppProvider locale={locale} config={config.blockauth_provider}>
      <div className="app-container">
        {!isLogged ? (
          <FlowBlockAuth
            apiKey={config.api_key}
            apiSecret={config.api_secret}
            onSuccess={handleSuccess}
            onError={handleError}
          />
        ) : (
          <div>
            <h2>Session started successfully!</h2>
            <DropdownProfile
              apiKey={config.api_key}
              apiSecret={config.api_secret}
              onLogout={() => setIsLogged(false)}
            />
          </div>
        )}
      </div>
    </BlockAuthAppProvider>
  );
}
Integration notes for real applications
FlowBlockAuthauthenticates the user and returns an identifier (address/ DID).- Most apps need a backend bridge endpoint to convert that identifier into their own session token.
- The minimal frontend response contract is typically:
{
  "token": "YOUR_APP_JWT_OR_SESSION_TOKEN",
  "role": "user",
  "full_name": "Jane Doe"
}
- Block-Auth can be your primary authentication layer. If your app already uses password, OTP, or SSO, you can also run a coexistence model during migration or phased adoption.
- If you use
BlockAuthAppProvider, you can wrap only the sections that use SDK components, or the full app for convenience. - You can place
<DropdownProfile>in any part of your app (for example, a top bar or user menu) to control session actions. In this example, it is shown next to the login flow to keep the integration easy to understand.
Security and troubleshooting essentials
- Avoid hardcoding production credentials in source code; prefer environment variables for
config.api_key,config.api_secret, and provider identifiers insideconfig.blockauth_provider. - Validate
address/ DID in your success callback before creating an app session. - If
onErroris triggered, inspect browser logs and verify credentials, domain setup, and CSP. - If WebSocket issues occur, verify
wsUrl, network reachability, and CSPconnect-src.
What's next?
Great, you're now set up with an SDK client and have made your first request to the SDK. Here are a few links that might be handy as you venture further into the Protocol SDK: